
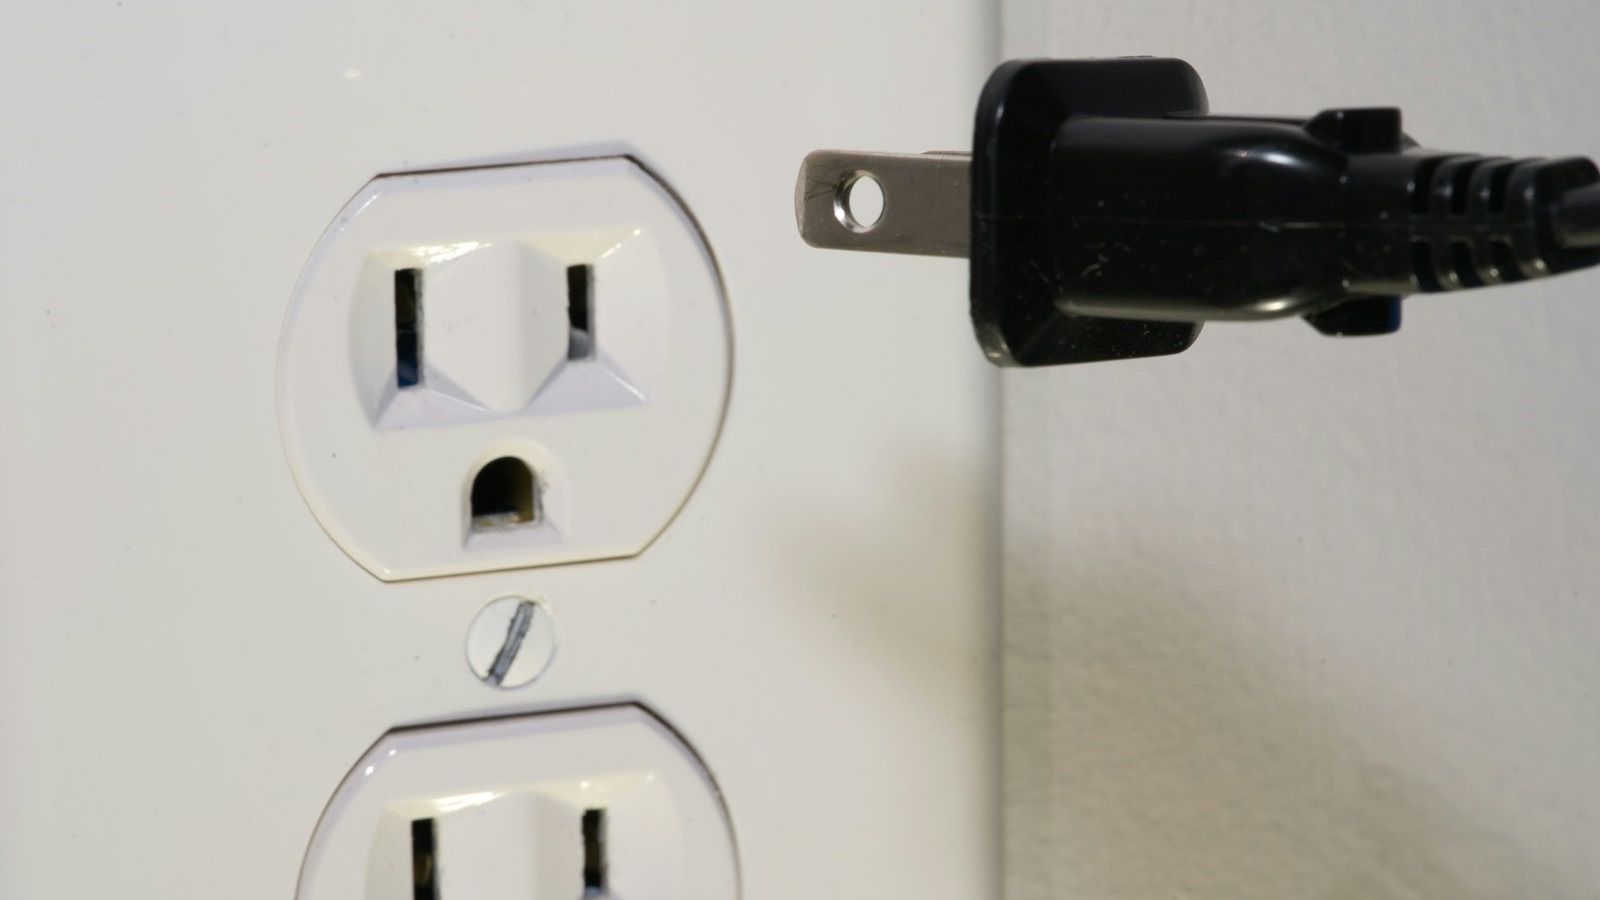
Quick Answer: Can You Really DIY a Mini Split That Plugs Into an Outlet?
Yes, you can install a DIY mini split that plugs into a standard 115V outlet, provided you choose the right system and follow local codes. True plug-and-play 115V mini splits with a manufacturer-approved power cord are rare, but they do exist.
As of 2026, Zone Air is the only DIY pre-charged brand we know of offering 115V mini splits specifically designed to plug into an outlet using a factory-approved cord kit. (The cord kit is an optional accessory; the systems ship ready to hardwire by default.) MrCool makes 115V units, but those models cannot be plugged into an outlet and must be hardwired to a dedicated circuit with an outdoor disconnect. That distinction matters more than most brands on the market want to admit.
A plug-in mini split still uses a wall-mounted indoor unit (the air handler) and an outdoor unit (the condenser). What makes it different is the power connection: instead of a 230V hardwired circuit installed by an electrician, the condenser accepts the manufacturer's optional 115V cord kit, which plugs into a dedicated, grounded GFCI receptacle. The system ships with pre-charged line sets, so you never handle refrigerant, and installation can be completed in a few short hours.
"Plug and play" in this context means:
- Pre-charged refrigerant lines with quick-connect fittings
- No EPA 608 certification needed
- A factory 115V plug option instead of custom 230V wiring
When a plug-in DIY mini split is ideal:
- Converted garages, bonus rooms, or small studios under ~600 sq ft
- Renters who cannot run new wiring (with landlord approval and an existing dedicated circuit)
- Remote home offices or ADUs
- Bedrooms without 230V panel access
When a 220–230V system is the better choice:
- Large open spaces over ~600 sq ft
- Multi-zone setups requiring 18,000+ BTU
- Locations where a 230V circuit already exists nearby
How Plug-In DIY Mini Splits Work (Indoor, Outdoor Unit & Power Basics)
The layout is straightforward: a wall-mounted inside unit handles air distribution in the room, while an outdoor unit sits on a concrete pad or wall bracket outside. A pre-charged line set connects the two through a small hole in the wall, typically 2.5–3 inches in diameter.
This is still a full heat pump system capable of both heating and cooling. The capacity of a mini split affects its ability to efficiently heat or cool a space, and plug-in mini splits can deliver efficient heating and cooling for a single well-insulated room. Performance in the 9,000–12,000 BTU range is comparable to hardwired models. They offer up to 23 SEER2 efficiency ratings, and they can heat efficiently down to −13°F on cold-climate models. Zone Air's units ship pre-charged with R-454B refrigerant, which flows once the quick-connect fittings are tightened to spec.
Electrical requirements can vary significantly between different mini-split models. A 115V/110V mini split can plug into a standard grounded 15-amp or 20-amp outlet, as long as that outlet sits on its own dedicated circuit; Zone Air's 9,000 and 12,000 BTU 115V systems call for a dedicated 15A circuit on a 15A single-pole breaker. A 9,000 BTU 115V system typically draws under 10 amps when running, making it compatible with a dedicated 15A circuit. A local disconnect switch near the outdoor unit is still recommended or required by code for safety, even on plug-in systems.
Choosing the Right System: 115V Plug-In vs 220V Hardwired Mini Splits
This is the key decision: does a 115V plug-in model fit your room size, budget, and electrical situation? Here's how the two options compare:
| Factor | 115V Plug-In | 220–230V Hardwired |
|---|---|---|
| Max capacity | ~12,000 BTU | 18,000+ BTU |
| Coverage area | Up to ~600 sq ft | 600+ sq ft, multi-zone |
| Installation difficulty | Easy, DIY-friendly | Requires electrician for wiring |
| Electrician cost saved | $200–$500 | N/A |
| Circuit type | Dedicated 15A or 20A single-pole | Dedicated double-pole breaker |
Choose the cooling system based on room size, insulation, and climate conditions rather than solely square footage. Plug-in mini split systems usually have a lower capacity than 240V hardwired systems: 110v mini splits are limited to 12,000 BTU capacity, while 220v systems support higher capacities, from 18,000 BTU and up.
Pick a 115V plug-in when there's no existing 220V circuit, the space is under ~600 sq ft, or you want to avoid opening the main electrical panel. Pick 220V when you need whole-floor coverage or a 230V circuit already runs nearby.
110v systems are easier to install than 220v systems, and DIY mini split systems can avoid the expense of installing 240V circuits if using a suitable model. Zone Air remains the only DIY brand we know of with 115V units built from the factory to accept an approved cord kit; other brands whose 115V models exist still require hardwiring. (For a deeper look at 9,000 vs 12,000 BTU 115V systems, see our 115V DIY mini split with pre-charged line set guide.)
Planning Your DIY Plug-In Mini Split Project
Planning up front (measuring, checking codes, choosing locations) makes installation faster and avoids surprises.
Sizing the unit: Measure the room in square feet and apply roughly 20 BTU per square foot. A 9,000 BTU model covers approximately 200–450 sq ft; a 12,000 BTU model handles about 350–600 sq ft. Most 115V plug-compatible systems max out around 12,000 BTUs, so anything larger points toward 230V.
Checking electrical supply: Inspect whether a dedicated 115V outlet exists near the planned outdoor unit location. A proper plug-in arrangement includes a dedicated 120V circuit and must not share with other appliances. Note whether it's a 15A or 20A breaker.
Verifying code compliance: Follow local codes when installing a mini split, especially concerning electrical requirements. Local building and electrical codes often require permanent heat pump installations to be hardwired, so confirm with your inspector that a cord-and-plug connection is legally permitted in your jurisdiction.
Choosing locations: Mount the indoor unit high on an exterior wall with good airflow. Place the outdoor unit on a level pad with at least 12–24 inches of clearance from walls and 24+ inches of open space above. The line-set length must match the planned route without sharp kinks. Zone Air offers custom continuous runs from 5 to 75 ft, reducing leak risk versus coupled sections.
Step-by-Step DIY Installation Overview (No Refrigerant Handling Required)
This is a high-level walk-through. DIY mini splits can be installed without specialized training or tools, and plug-in mini splits simplify installation with detailed instructions included in the box.
- Unpack and verify. Confirm all hardware, the indoor unit, outdoor unit, line set, control cable, and cord kit are present. Turn off power at the breaker feeding your outlet.
- Mount the indoor air handler. Use the included template to find studs, level the bracket, and drill the combined hole (2.5–3 inches) for the line set, drain, and control cable.
- Set the outdoor unit. Place it on a concrete pad or wall bracket, ensure it's level, and maintain recommended clearances for airflow and service access. Installation of a mini split should account for appropriate clearances and mounting requirements.
- Connect the pre-charged line set. Remove protective caps, align the quick-connect fittings, and tighten to the torque spec in the manual, then open the outdoor unit's service valves as the manual directs. Pre-charged line sets eliminate refrigerant handling during installation entirely.
- Wire the control cable. Match terminal labels between indoor and outdoor units, tighten strain reliefs, and verify polarity.
- Route the drain hose. Maintain a continuous downward slope, avoid dips or traps, and terminate away from foundations or walkways.
- Complete the electrical connection. Install or confirm the outdoor disconnect if required, then plug the factory-approved 115V power cord into the dedicated outlet.
Electrical & Safety Considerations for Plug-In Mini Splits
Even plug-in systems must comply with NEC and local codes. If you're unsure about any wiring detail, call a licensed electrician; it's worth the peace of mind.
Breaker size depends on the model: Zone Air's 9,000 and 12,000 BTU 115V systems specify a dedicated 15A single-pole breaker, while MrCool's 115V DIY units call for a 20A circuit, so always follow the nameplate. A dedicated circuit is often essential to prevent tripping breakers when using high-draw appliances such as mini splits. Mini splits cannot safely run on a shared household circuit, and plugging a high-draw appliance into a shared outlet can cause circuit overload risks. A 115V mini split may require a dedicated circuit even while operating at 120V.
National Electrical Codes mandate a physical safety disconnect box near outdoor compressors, allowing power to be shut off within sight of the unit for service or emergencies. For cord-and-plug connected equipment, NEC 440.13 allows the attachment plug and receptacle to serve as the disconnecting means, so ask your inspector which applies to your install.
Key safety rules:
- Outdoor receptacles typically require GFCI protection; garages and basements often do as well. Zone Air specifies a dedicated 15A GFCI outlet with a weatherproof in-use cover for its cord kit.
- Use only the manufacturer-approved plug kit. Using an extension cord or power strip is not recommended for powering mini splits.
- Before first power-up, verify wiring polarity, secure terminations, correct breaker size, and confirm no kinks in the line set or crushed drain lines.
Living With a Plug-In DIY Mini Split: Operation, Efficiency & Maintenance
Once installed, a plug-in mini split delivers quiet, zoned comfort that outperforms window AC units and baseboard heaters in every measurable way. Ductless mini splits use 25–40% less energy than ducted systems, and modern 115V models reach around 23 SEER2.
Heating efficiency may drop for 115V units in extreme cold, but most cold-climate models maintain useful output down to −13°F, more than enough for the majority of U.S. homes.
Everyday control options:
- Handheld remote and wall display
- Wi-Fi app integration on compatible models
- Voice control through Alexa or phone-based smart assistants on select units
Maintenance essentials:
- Clean indoor air filters every 2–4 weeks
- Check the outdoor coil for debris a few times per year
- Inspect the drain line for clogs or algae buildup
- Inspect the quick-connect fittings for any signs of oil, which could indicate a leak
Zoned control means you set different temperatures by room and stop conditioning spaces nobody is using. That sort of targeted approach creates real savings on every utility bill.
Choosing the right system and installing it correctly once lets you enjoy years of efficient, easy comfort with only basic periodic maintenance. If you're ready to shop, add a Zone Air 115V model to your cart, find the product details on their website, and learn how a single afternoon of work can transform any room in your home.
Want the whole job in more detail? Our guide to the easiest DIY mini split installation with pre-charged quick connect line sets walks through every step and compares MrCool DIY 5th Gen with Zone Air on line sets, power, SEER2 and price.
Comparing brands first? Our best DIY mini split guide ranks Zone Air, MrCool DIY 4th and 5th Gen, Pioneer and Cooper & Hunter on true-DIY status, cost, cold-climate specs and warranty terms.
Get help choosing a plug-in DIY mini split
Specifications and electrical requirements are manufacturer-published as of September 2026 and subject to change. Verify current listings and local electrical code before purchase; use a cord-and-plug connection only where your jurisdiction permits it. MrCool and DIY 5th Gen are trademarks of their respective owners; HVAC On Sale is not affiliated with or endorsed by them.