
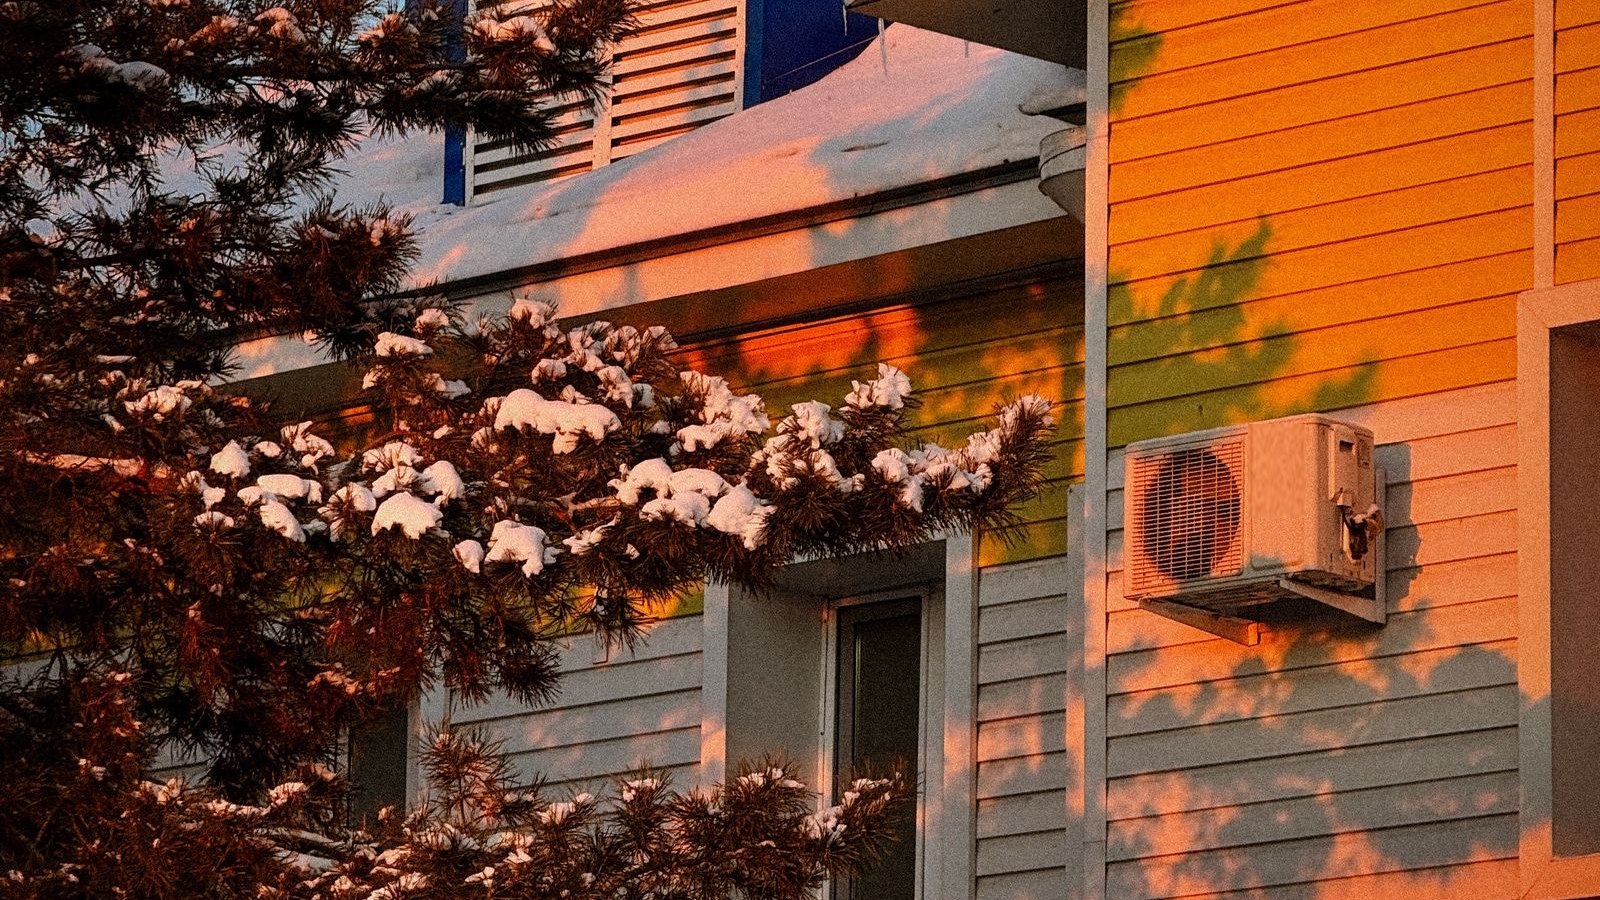
If you live in a cold climate and want to heat your house without paying for professional installation, picking the best DIY mini split for heating is one of the smartest moves you can make. These ductless systems move heat from outside air into your rooms with remarkable energy efficiency, and the latest cold-climate models can operate well below zero. Here are the top picks for winter 2026, what separates them, and how to choose the right one for your space.
Quick Answer: Best DIY Mini Split Heat Pumps for Winter 2026
DIY mini split heat pumps have gotten good enough now that you can install a heating system that works well in a colder climate without having to touch refrigerant or call in an HVAC contractor. So what would you want to watch for? You need to pick a system that is rated for low outdoor temperatures and has a warranty that covers DIY installs.
The best overall DIY cold-climate mini split for 2026 is the Zone Air system
- There is heating down to −13°F on every system
- Up to 24 SEER2 cooling efficiency on 230V (115V units are 23 SEER2), HSPF2 of 10.0 to 10.5 on the wall-mount units
- True DIY installation that uses quick-connect fittings and comes with pre-charged R-454B refrigerant
- There are 115V models for 9,000 and 12,000 BTU that you can plug into a dedicated 15A outlet with the optional cord kit, in places where local code lets you do that.
- The pre charged line sets are cut to any whole foot you need, from 5 feet to 75 feet.
- 5-year parts warranty and 7-year compressor warranty that stays valid for DIY installs, with no registration deadline
- As of October 2026, Zone Air is the only DIY mini split that lets you mix wall-mount units, ceiling cassette units and concealed ducted units on the same outdoor unit.
Other Notable Picks:
| Model | Min. Heating Temp | HSPF2 (Region IV) | True DIY? |
|---|---|---|---|
| MRCOOL DIY 5th Gen 18K | −13°F | 11.5 | Yes (quick-connect) |
| Senville AURA | −22°F | ~9–11 | No (pro install for warranty) |
| Cooper & Hunter Hyper Heat 12K | −22°F | ~10.5 | No (flare + vacuum) |
| Pioneer YN Series 12K | Varies by model | ~11.0 | Partial (varies) |
The rest of this article can help you choose between these heat pump systems, show you what matters most for effective heating in colder climates, and walk you through the basic installation requirements you'd want to plan for.
Mini Splits for Winter Heating
A mini split heat pump is basically a ductless heat pump system with two main parts: an outdoor unit (the condenser) that pulls heat from the outside air, and an indoor unit (the air handler) that goes on your wall or ceiling and blows warm air into the room. Because it moves heat instead of making it by burning fuel or running resistance wire, a mini split can use way less electricity than electric baseboard heaters or portable space heaters.
Picture a log cabin that is about 2,700 square feet and that is heated with baseboard heaters right now. If you replace even part of that baseboard load with a properly sized ductless mini split, you can cut your heating bills by a lot, since heat pumps put out two to three times more heating energy per watt than resistance heat does. And unlike a wood stove, you don't have to haul fuel, you don't have to maintain a chimney, and you don't have to worry about indoor air quality.
With the same unit, you can get both heating and cooling, so there's year round comfort from one system. In summer it runs in cooling mode or dry mode so it can handle humidity. Modern cold-climate mini splits can keep putting out strong heat even when outdoor temperatures drop well below freezing, as long as you pick the right model and size it correctly for where you live.
What Makes a Good DIY Winter Mini Split
DIY mini split heat pumps that you use for winter heating need to keep working in low temperatures without losing too much of their capacity. Here's what to look for when you're shopping:
- Minimum operating temperature: This is the coldest outdoor temperature where the unit still makes heat. A floor of −13°F is enough for most northern U.S. climates. Models rated to −22°F, which often use Hyper Heat or Enhanced Vapor Injection technology, will cover even extreme weather zones, but those usually need professional installation.
- HSPF2 rating: The HSPF2 rating tells you how efficient a heat pump is at heating in the winter. A higher HSPF2 rating means you pay less to the electric company to keep your home warm when it's cold outside. Look for a Region IV HSPF2 of 10 or above if you plan to use the heat pump in places with serious cold weather.
- SEER2 for cooling: While less critical for winter, a high SEER2 means the system is energy efficient in summer too.
- Inverter compressor technology: Inverter compressor technology changes heat output smoothly and improves energy efficiency because it changes the compressor speed to match the load instead of turning on and off.
- Defrost strategy: All outdoor equipment ices up when the weather is cold. Units with sensor-based "smart" defrost clear ice faster and waste less energy than systems that run on a fixed timer.
- Pre-charged quick-connect line sets: Pre-charged quick-connect line sets mean you don't need specialized HVAC tools to install a DIY mini split. This is the single most important feature that separates true DIY units from contractor-grade systems.
- 115V options: Smaller models (9K–12K BTU) that come in 115V let you install in bedrooms, offices or small spaces without having to run new 230V circuits.
- Smart controls and Wi-Fi: Smart controls and Wi-Fi in mini split systems let you monitor the temperature, set schedules and track energy use from your phone.
- Strong DIY warranty: Some heat pump brands void coverage if you install the unit yourself. Insist on clear DIY warranty support.
- Quiet operation: For bedrooms and living rooms, noise matters. Cooper & Hunter indoor units run at 30.5 to 43 dB. Senville AURA Series noise levels range from 35 to 46 dB. Pioneer WYS Series operates at just 40 dB indoors. The outdoor units for the MRCOOL DIY 5th Gen single-zone are rated 54 to 60.5 dB(A) depending on the size. Zone Air has 48 to 58 dB outdoors listed. Friedrich Floating Air Premiere Series tops out at 59 dB outdoors.
Why Zone Air Is a Top DIY Cold-Climate Mini Split Pick in 2026
Zone Air is positioned as one of the best DIY mini split options specifically engineered for heating in cold climates in 2026. Every Zone Air system is AHRI Certified and rated to heat down to −13°F (outdoor heating range −13°F to 86°F), making them suitable for homeowners across northern states and Canadian border regions where winter lows regularly dip into negative territory.
Energy efficiency is strong across the lineup: up to 24 SEER2 for cooling on the 230V single-zone and wall multi-zone systems, and HSPF2 values of 10.0 to 10.5 on the wall-mount units (the concealed ducted heads rate lower, down to 8.4). The 115V units are 23 SEER2, which is a hair under MRCOOL's 115V models at 23.5 and 23.6, so the efficiency lead is a 230V story. At 24 SEER2 on 230V, Zone Air is the highest-efficiency pre-charged quick-connect DIY system of the brands compared here; MRCOOL's best single-zone is 23.6. That translates directly to lower winter electricity bills compared with older heat pump systems or resistance-based heating systems like baseboard heat.
What truly sets Zone Air apart for DIY installs is the true quick-connect installation. Every system ships with factory pre charged R-454B refrigerant lines, so there is no vacuum pump to rent, no refrigerant to charge, and no EPA Section 608 certification required (install FAQ). You connect the line set, tighten the fittings, and the system is ready to operate. Units get their final assembly, testing, and inspection in the USA from globally-sourced components.
Of the brands compared here, Zone Air is the only one (as of October 2026) that cuts the pre charged line set to the exact length you measure, any whole foot from 5 to 75, and the 25, 33, 50 and 75 ft sets are each one continuous factory-sealed run with no field joint. That means you can route tubing to the ideal wall mounted unit location without coiling excess tubing behind the outdoor unit. MRCOOL ships fixed 11.5, 16, 25, 35 and 50 ft sets, joins two with a coupler past 50 ft, and has you coil the excess. For smaller rooms, the 115V 9,000 and 12,000 BTU models run on a dedicated 15A circuit, and with the optional 3-prong cord kit they can plug into a dedicated GFCI outlet where local electrical code allows (never an extension cord). MRCOOL's 115V units are hardwired. That avoids the cost and complexity of running new 230V circuits, a real advantage in older homes or finished basements.
The warranty is DIY-valid: 5-year parts and 7-year compressor coverage with no registration deadline, and installing it yourself does not void it. MRCOOL's DIY 5th Gen carries the same 5/7 term, so the contrast is with the flare brands below, where coverage is restricted to professional installation, which defeats the purpose of a DIY system. Zone Air sells direct, with 30-day returns on uninstalled units (RMA required) and free shipping to the 48 contiguous states, plus live technical support 8 AM to 6 PM MT from the manufacturer.
One honest limitation: in extremely cold climates where temperatures routinely fall below −13°F, you may still need supplemental heat. Heating capacity decreases as outdoor temperatures drop, so proper sizing and a backup plan remain essential.
Other DIY Mini Splits Worth a Look for Winter
While Zone Air is a standout for combining cold weather performance with DIY installation, readers often compare it with other established brands. Here is how the other brands line up:
MRCOOL DIY 5th Gen MRCOOL offers DIY installation options for mini-split systems with quick-connect, pre charged R-454B line sets. MRCOOL's 18,000 BTU single-zone model has an HSPF2 of 11.5 (Region IV), and the MRCOOL DIY 5th Gen single-zone line runs from 18 to 23.6 SEER2 depending on size. MRCOOL's Easy Pro heats to 5°F. The standard MRCOOL DIY 5th Gen is rated to about −13°F, the same floor as Zone Air, and higher-tier DIY models are rated lower. Line sets are available in fixed 11.5, 16, 25, 35 and 50 ft lengths, with a coupler kit to join two sets for longer runs up to 75 ft. The 5-year parts / 7-year compressor warranty covers DIY installs with no registration required.
Senville AURA Series The Senville AURA Series operates efficiently down to −22°F and has a SEER of up to 28.1, making it one of the more energy efficient options on paper. However, Senville AURA Series will need professional installation to maintain warranty, which adds installation costs and puts it outside true DIY area.
Cooper & Hunter Hyper Heat The Cooper & Hunter Hyper Heat Series is built for extreme cold climates. The Cooper & Hunter Hyper Heat Series can function in temperatures as low as −22°F, retaining about 96% of rated heating at 5°F and about 49% at −22°F. Cooper & Hunter Hyper Heat Series has SEER ratings from 20.5 to 25. Trade-off: these will need professional installation with flare connections and vacuum equipment, which means higher cost and no DIY warranty.
Pioneer WYS Series Pioneer WYS Series has SEER ratings from 17.5 to 21.5 and the Pioneer WYS Series can heat spaces up to 1300 square feet. Pioneer mini-splits include a 16-foot copper wiring kit for installation, though this may not be long enough for all setups. Cold-climate certification varies by model.
Friedrich Floating Air Premiere Series Friedrich Floating Air Premiere Series has SEER ratings from 18 to 28 and the Friedrich Floating Air Premiere Series operates efficiently down to −13°F. Friedrich Floating Air units are selling line sets separately for installation, adding to the total cost.
Daikin Atmosphera Series Daikin Atmosphera Series has SEER ratings from 22 to 27.5 and comes with a 12-year limited parts warranty. However, Daikin mini-splits need professional installation and additional line set costs, so they are not a true DIY option.
Put cold climate ratings and DIY-friendliness ahead of brand name alone. A system that voids your warranty if you install it yourself is not really a DIY system.
Single-Zone vs. Multi-Zone DIY Mini Splits for Winter
A single zone DIY mini split is one outdoor unit that you pair with one indoor unit. A multi-zone system is one outdoor unit that connects to multiple indoor air handlers that you put in different rooms.
When single zone makes sense: If you've got an open-concept living area in a small to mid-size house, one well-placed unit on the first floor can distribute warm air through connected spaces. This is the simplest and most affordable starting point.
When multi-zone makes sense: If you want whole-house ductless heat across several rooms, a multi-zone setup lets you control the temperature in each space on its own. Zone Air and MRCOOL both have multi-zone systems, though the total length of the line sets, the electrical load and the complexity of the installation all increase a lot. Zone Air's 27,000 BTU multi-zone outdoor unit runs two or three indoor units of any style, and as of October 2026 it is the only DIY mini split that lets you mix wall-mount, ceiling cassette and concealed ducted units on one outdoor unit. With MRCOOL's DIY multi-zone, you only get wall heads and cassette heads. You can also buy the Zone Air 27K condenser with one head and add a second or third later on through the spare port, using a pre charged line set to connect it.
Trade-offs to consider:
- Multi-zone systems do cost more upfront and they do involve more work to make holes in ceilings and walls
- If one outdoor condenser fails in a multi-zone setup, all of the connected rooms lose their heating.
- It can be tricky to balance the temperature across zones in very cold climates if the rooms have different insulation levels
Beginners should think about starting with one or two well-placed single zone diy units before they move up to a larger multi-zone project that costs more and takes more work to install.
Sizing Your DIY Mini Split for Cold Climates
Proper sizing of a mini split is essential if you want it to heat well in winter. When outdoor temperatures drop, heating does not work as well, so you need a higher BTU capacity than a simple square footage calculation would show you.
Rule of thumb starting point: In a well-insulated space, about 25–30 BTU per square foot is common for moderate cold climates. For poorly insulated homes or very cold climates, 35–45 BTU per square foot may be needed. This is a starting point, and it is not a substitute for a Manual J calculation.
Factors that shift sizing:
- Insulation quality is the R-value of walls, attic and floor
- Ceiling height above standard 8 feet
- Number and quality of windows
- Local design temperature is the coldest outdoor temperature that you can expect.
Example: A great room that is 600 square feet in Minnesota, where the design temp is around −10°F. That has average insulation, might need 18,000–24,000 BTU of heating capacity. In North Carolina, the same room might only need 12,000–15,000 BTU.
Risks of wrong sizing:
- Undersizing means the unit cannot keep your setpoint during cold months and has a hard time constantly
- Oversizing causes short cycling, poor humidity control, higher energy consumption and unnecessary wear
A lot of manufacturers, including Zone Air, have online sizing tools that pull in your local climate data, and it's worth using them.
Installation Requirements for DIY Mini Splits in Winter
Even with a true DIY system, you've got to pay attention to installation requirements because they affect how well the unit runs in winter and whether your warranty stays valid.
Electrical: The amount of electricity a mini split needs is not the same for every model, and a lot of them need a circuit that is just for them. Smaller 115V units will run on a standard 15A or 20A circuit, but larger systems (18K+ BTU) usually need 208–230V with a double-pole breaker that is dedicated to the unit. If you're running new line voltage circuits, it's a good idea to always hire a licensed electrician for that part.
Line set routing: You'll run the pre charged line set from the indoor unit through a wall sleeve out to the outdoor unit. Don't put sharp turns or kinks in it, and don't crush it. The maximum line set length and how far you can run it vertically will vary by model. Zone Air will cut pre charged sets to any whole foot from 5 to 75 feet (vertical lift limit is 33 ft on 9K and 12K, 50 ft on 18K), while MRCOOL's a la carte lengths top out at 50 feet and you can only get to 75 by joining two sets together.
Outdoor unit placement for cold weather: You should mount the outdoor condenser above where the snow usually piles up so ice doesn't block the airflow. Wall brackets or raised pads will do the job. Make sure there's at least 12–18 inches of clearance on all sides because it needs that airflow during defrost cycles. Base pan heaters in outdoor units keep ice from blocking airflow in winter. They're either built in or you can get them as accessories.
Drainage: Ice can build up on the outdoor unit during defrost cycles, so you need a drainage system that actually works. Run the condensate and defrost melt water away from paths, foundations and siding so it doesn't freeze again and create a hazard.
It's important to follow the manufacturer's installation guide carefully. Even with quick-connect fittings, if you skip steps or ignore the torque specs, you can void your warranty and the system won't perform the way it should.
Winter Performance and How Heat Pumps Act in Cold Weather
All air-source heat pumps lose capacity as outdoor temperatures drop, and standard heat pumps lose a lot of it near 32°F or 0°F in cold climates. You need to understand this when you're planning for winter.
Inverter-driven compressors adjust speed continuously so they can keep putting out heat in cold weather. When it's 5°F outside, the compressor speeds up to pull more heat from the air. That's why COP at low ambient temperatures matters: a heat pump that still runs at a COP above 2 at 5°F delivers more than two units of heat for every unit of electricity it uses, while resistance heat gives you exactly one.
Defrost cycles are normal. When the outdoor coils frost up, the system will briefly reverse to melt the ice, then it will go back to heating. During defrost you might notice the indoor unit stopping or blowing slightly cooler air for a few minutes. When it is very cold and humid, defrost may cycle every 30–90 minutes. Hyper Heat or Enhanced Vapor Injection technology holds heating output down to −13°F to −22°F by putting additional refrigerant vapor into the compressor during low-temperature operation.
Floating heat performance tells you how much heating capacity a mini split keeps when the outdoor temperature is low. When you're comparing models, look at the manufacturer performance tables that show delivered BTU at 47°F, 17°F, 5°F, and below, not just the standard ratings. The Cooper & Hunter Hyper Heat 12K, for example, keeps about 96% of rated output at 5°F but drops to about 49% at −22°F.
When You Still Need Backup Heat in Very Cold Climates
Even the best cold-climate mini splits have their limits, and cold-climate mini splits may still need supplemental heat in extreme conditions or when there's significant heat loss.
In regions where winter lows routinely drop below −13°F or −20°F, it's a good idea to have a backup heating system. This could be electric baseboard heaters you already have, a hydronic system or a wood stove.
Practical example: A northern log cabin that already has baseboard heaters installs two Zone Air 12K units to use as the primary heating system. On nights when temperatures fall to −20°F, the mini splits keep running but at reduced capacity. To keep the temperature safe and prevent frozen pipes, the baseboard heaters in bedrooms and bathrooms kick in as supplemental heat.
Hybrid strategies work well: You can use the mini split as primary heat down to its rated temperature, which saves money on electricity compared with other heating sources. When the weather gets so cold that it pushes below that threshold, you let existing heaters handle the gap. Proper sizing can minimize how much you rely on backup heat, but planning for those rare extremes keeps your house safe and warm.
Energy Efficiency and Operating Costs in Winter
Energy efficiency matters most in winter, when your heating system may run 16–20 hours per day. A small difference in efficiency can add up to hundreds of dollars over the course of a heating season.
SEER2 vs. HSPF2: SEER2 measures how efficient the system is at cooling, so it is less relevant for winter. HSPF2 is the key number for heating. A system with an HSPF2 of 11.5 (like the MRCOOL 5th Gen 18K) uses a lot less electricity over the course of winter than a system that is rated at 8.5. With the Zone Air 230V wall units, you are looking at 10.0 to 10.5 Region IV.
Simple comparison: If you heat a room that is 600 square feet with electric baseboard at $0.15/kWh, it might cost you about $250–$350 per month in a cold climate. An efficient cold-climate ductless heat pump that heats the same space usually costs $80–$140 per month, depending on how cold it gets and how well the room is insulated. That is money you actually get to keep, especially over the course of a full winter.
There are a few factors that can affect how much energy the system uses in the real world:
- Do thermostat setbacks at night actually save money? They do, but they also force the system to work harder in the morning
- Running the fan on auto rather than continuous reduces electricity use
- If you keep the doors between rooms open, the air gets around better from a single zone unit
Ductless heat eliminates duct losses, which can waste over 30% of energy in leaky duct systems. This alone makes ductless mini splits more energy efficient than ducted systems in many older homes, where poorly sealed ductwork lets warm air leak out into crawlspaces and attics.
What a DIY Mini Split Installation Looks Like Step by Step
This isn't a full installation manual, but it covers what you would need to do for a typical DIY project:
- Plan and layout: You will want to choose where you want the indoor unit to go (high on an interior wall, away from direct sunlight and heat sources). Pick an outdoor spot that has enough room around it, drains well and is easy to get to.
- Mount the indoor air handler: The mounting plate that comes with it is what you'll use, so level it carefully and secure it to the wall studs.
- Drill the wall sleeve: Cut a 3-inch hole through the exterior wall at a slight downward angle so that water has a way to drain out.
- Set the outdoor condenser: Place it on a raised pad, a ground stand or a wall bracket, and make sure that it is level.
- Connect the line set: Route the pre-charged line set through the wall sleeve. You can connect the quick-connect fittings at both the indoor unit and the outdoor unit. You'll want to follow the torque specs from the manufacturer exactly. True DIY systems like Zone Air use sealed quick-connect fittings, so you don't need to have a vacuum pump or do any refrigerant work.
- Run communication cables: Connect the control wiring between the indoor equipment and the outdoor equipment according to the diagram for the wiring.
- Electrical connection: Wire the dedicated circuit to the disconnect on the outdoor unit. Have an electrician handle this if you're not qualified.
- Leak check, power up and test: Turn on the breaker and run the system in heating mode, then check that you've got airflow, the temperature coming out is right, and there are no error codes. If something doesn't seem right, call a pro before you try to force it.
Maintenance Tips to Keep Your Mini Split Heating Strong All Winter
Even the best mini split heat pump is going to need proper maintenance to keep it running well in winter.
- Clean the indoor filters every 2–4 weeks when you're running the unit a lot. When they get clogged, it cuts the airflow, drops the efficiency and can throw error codes.
- Wash the surfaces of the indoor coil gently with a soft brush or a coil cleaner once or twice in a season.
- Keep the outdoor unit clear of snow, ice, leaves and debris. You need clearance so the defrost cycles can do their job. A pan heater accessory can help keep ice from building up in the drain pan.
- Check the insulation on the line set each year for cracks, gaps or damage from UV, especially after a winter that was rough.
- Inspect the drain lines for blockages or damage that could cause problems with water from melting.
- Watch for noises that aren't normal, error codes or airflow that is reduced. It's better to deal with these before deep winter hits, rather than trying to troubleshoot when it's already freezing out.
Even with a DIY-installed system, it's worth paying for an annual or twice-a-year professional checkup if you want the unit to last. A technician can check how much refrigerant is in the system, how the electrical connections look, and whether the compressor is in good shape. These are tough to assess without the right tools.
Which DIY Mini Split Is Best for Your Winter Needs?
The best DIY winter mini split heat pump is one that gets cold-climate performance, energy efficiency and how simple it is to install right. No single system is perfect for every situation, but you can narrow it down fast by matching what you need to what each brand actually delivers.
Zone Air is a good fit for homeowners who want strong low-ambient heating down to −13°F, 24 SEER2 on 230V, custom-cut pre-charged line sets and real DIY installation without giving up warranty support. If you live somewhere winter lows stay above −13°F and you want to save on the cost of installing it and on your monthly electricity bill, it's hard to beat.
For very cold climates where temperatures routinely drop to −20°F or lower, models like the Senville AURA or Cooper & Hunter Hyper Heat can go deeper, but they need professional installation and they cost more.
Before you buy:
- Match the system you choose to the climate where you live, whether that's moderate, cold or very cold.
- You'll want to size it carefully with the manufacturer's tools and with the actual heat loss from your home, not just square footage.
- Plan your electrical setup: use 115V for small spaces, and use 230V if you need larger capacity.
- Plan for backup heat in the coldest climates
- Follow the installation requirements closely so you get operation that is safe and efficient, and so your warranty stays valid.
Modern heat pump systems are making energy efficient, all-electric winter heating more practical every year. Whether you are replacing aging baseboard heaters in a single room or building out whole-house ductless heat across multiple zones, the right cold-climate DIY mini split can keep your house warm through the toughest cold months while using far less energy than the alternatives.
Related guides
- MRCOOL DIY Hyper Heat in cold climates - the -22°F specs explained, with the Zone Air comparison
- Best DIY mini split heat pump: brands compared - the all-season ranking behind these cold-weather picks
- MRCOOL vs Zone Air - the two quick-connect systems side by side
- Best self install mini split - pre-charged systems compared
- DIY mini split with no HVAC contractor - what the rules allow, tools, steps and warranty terms
- Best 115V DIY mini split - plug-in picks for single rooms
Get a quote on a cold-climate mini split
Specs and warranty terms are manufacturer-published as of October 2026, subject to change; verify before purchase. MRCOOL® and DIY 5th Gen are trademarks of their owner; Zone Air is a trademark of its owner; other brand names are trademarks of their owners. HVAC On Sale is not affiliated with or endorsed by MRCOOL.